A Craft Worth Keeping
If you’re a parent, I know you have thrown away your fair share of beautiful homemade treasures! We all have! This stained glass ornament craft is one that kids enjoy making, and parents can keep for years to come. We still have our kids’ stained glass ornaments from almost 20 years ago. Don’t even get me started on how it’s possible that my eldest was in fourth grade almost two decades ago!!
Stained Glass Ornament Supplies:
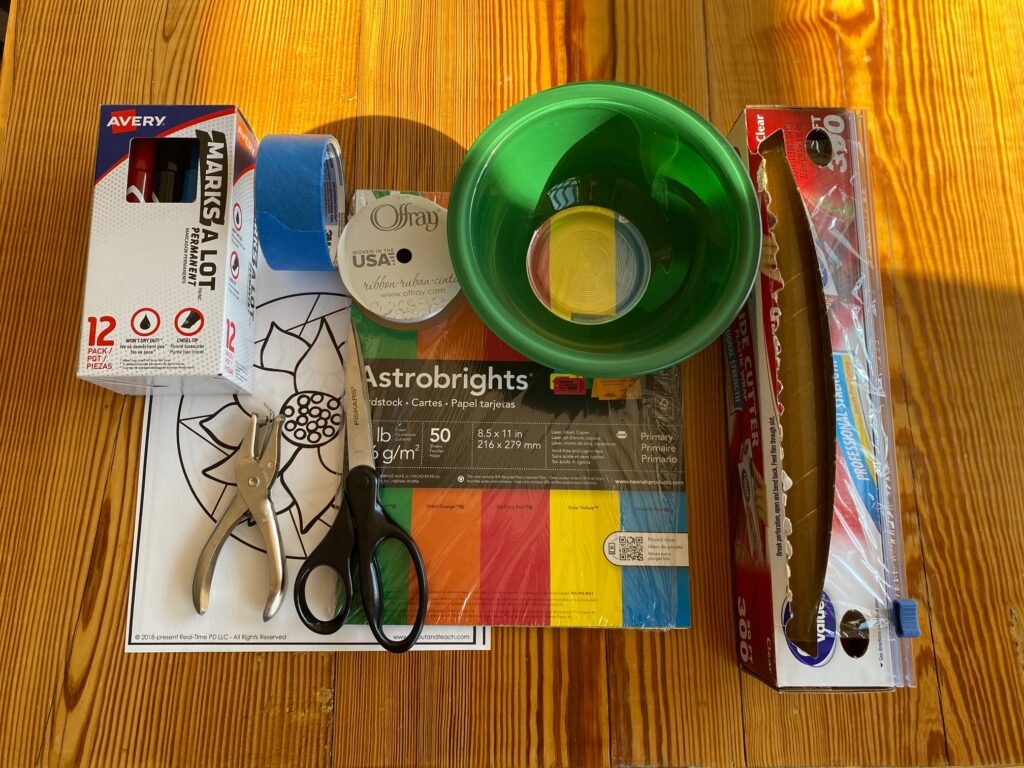
You will need to have the following supplies on hand in order to make the stained glass ornaments.
- Cardstock
- Aluminum foil
- Plastic wrap
- Blue painter’s tape
- Ornament design printables
- Glue
- Scissors
- Hole punch
- Ribbon, yarn, or string
- Permanent markers
- We like to use these, but I don’t see why Sharpies wouldn’t work as an alternative.
- Make sure you have enough markers for all of your students. It may be a bit of an investment the first year if you don’t already have permanent markers, but they will for last years.
Stained Glass Ornament Prep:
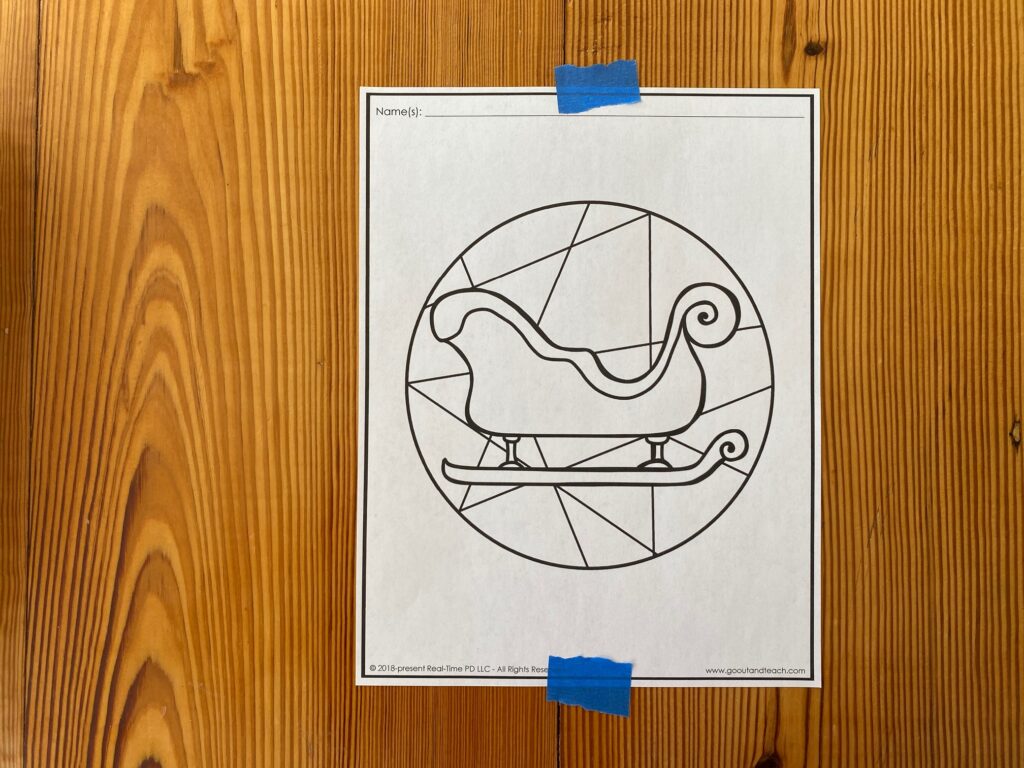
To begin the stained glass ornaments, you will want to have your students pick their design. These can be used from year to year, so it isn’t necessary for students to put their names on the printable unless you just want them to.
After students have chosen their design, you will tape it to their desk. This next step is the most time consuming, so we always do this part while the students are gone to specials. Just make sure everyone has chosen their design before they leave to go to specials!
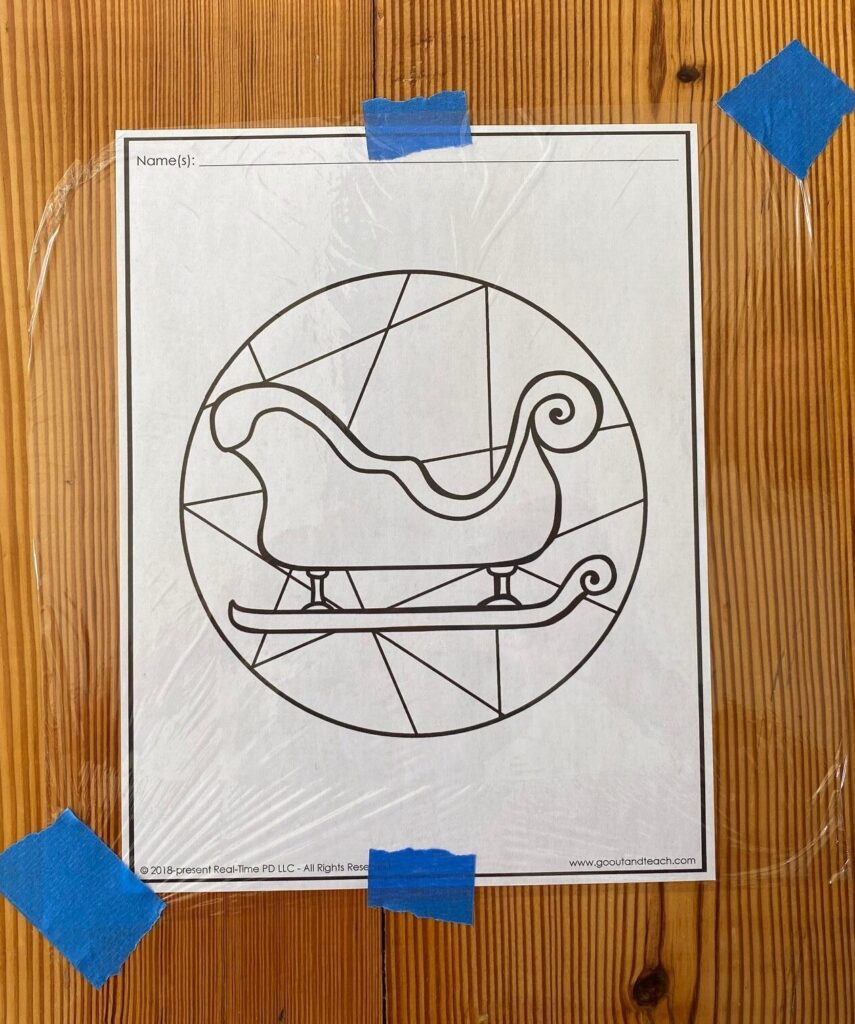
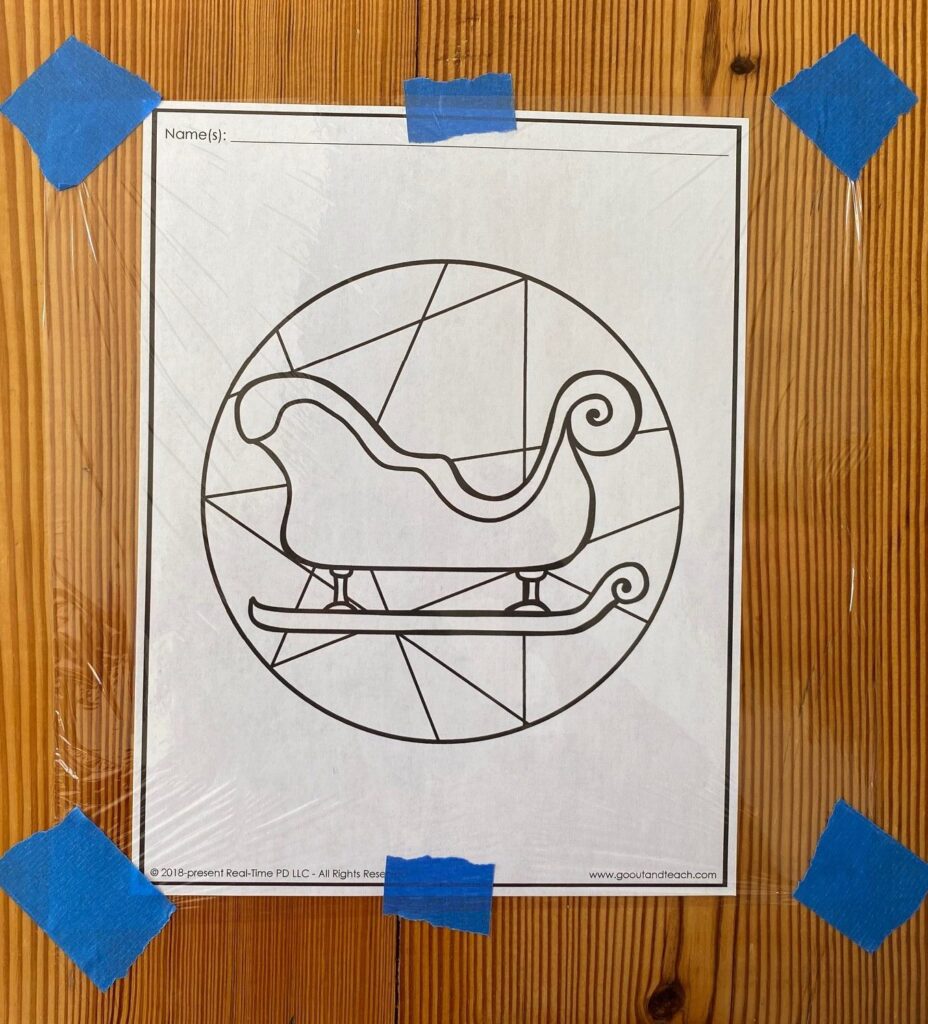
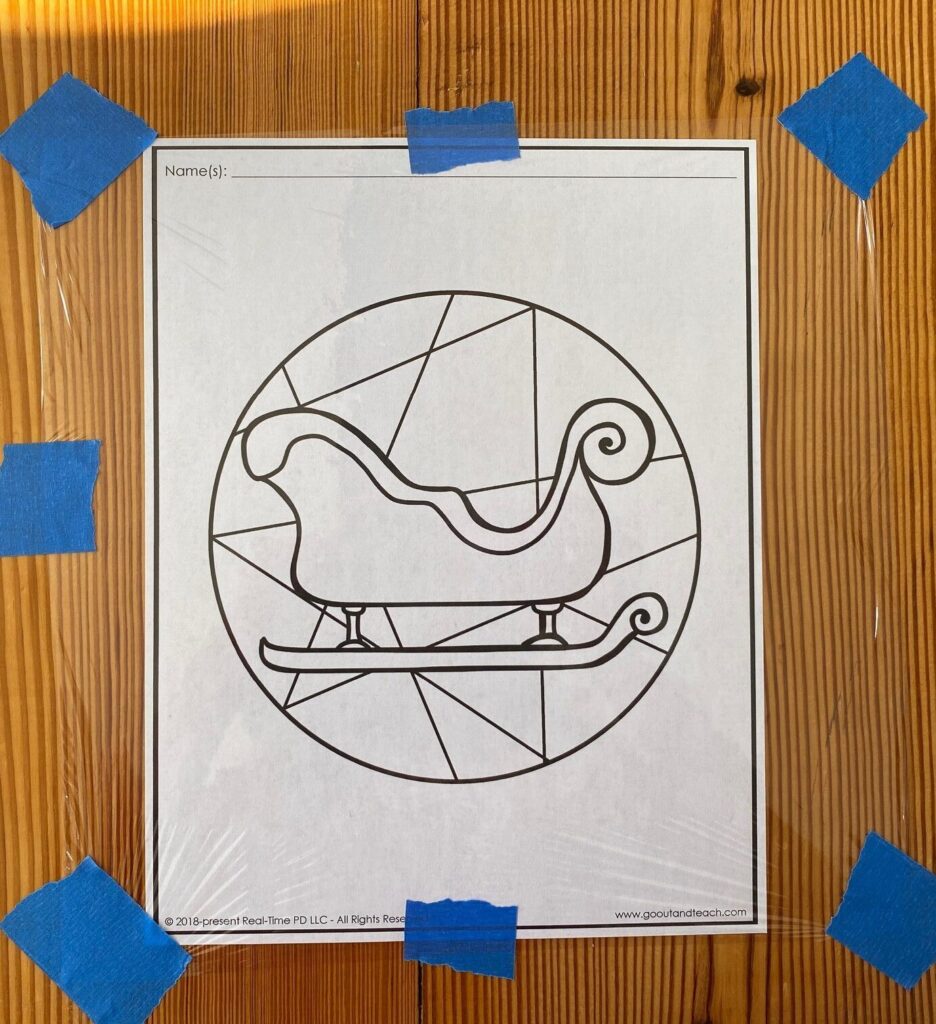
Once the printable is taped to the desk, you will tape a piece of plastic wrap on top. It is important to pull the wrap tight! The key to this is to tape two diagonal corners, pulling taut as you do. Then do the other two corners pulling it taut and smoothing it out as you so. You may need an extra piece of tape to get it perfectly smooth!
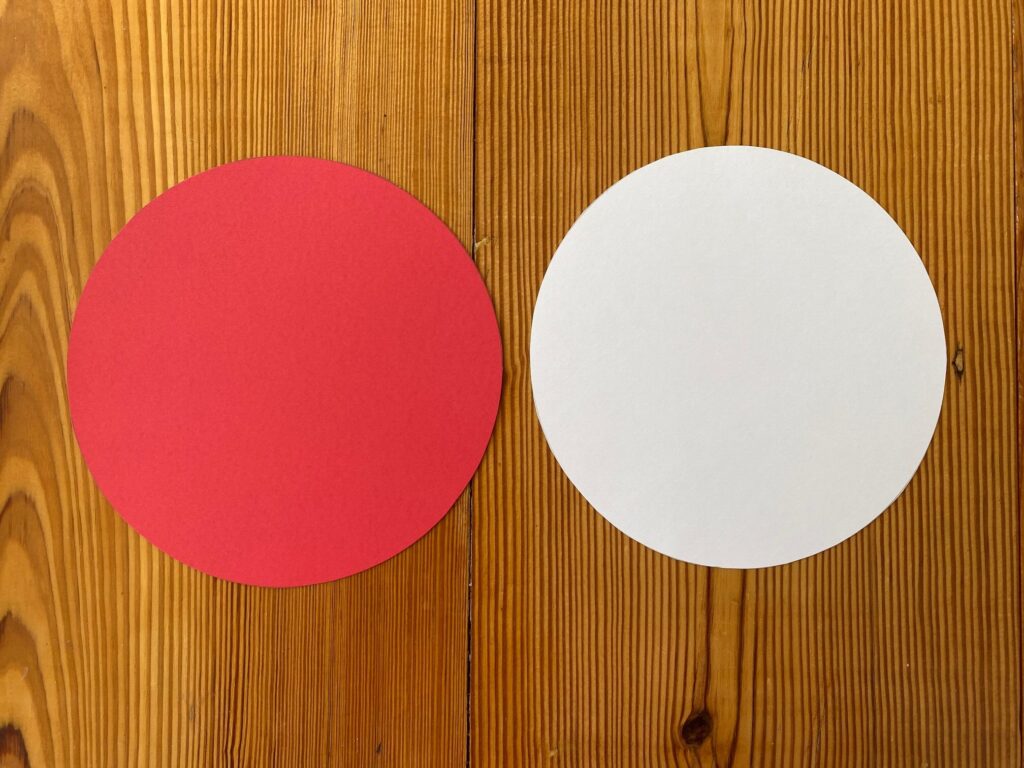
Next, the students will need to cut out two circles (cardstock and construction paper). Only the construction paper will be visible, so the cardstock can be any color. Students may want to choose a color that will match their stained glass ornament for the second circle.
In order to cut the circles we like to have a few templates that the students can trace to make the correct sized circle. We typically use tupperware lids or bowls to make our circle templates. As long as the circle is slightly larger than the stained glass ornament design on the printable, you will be good to go!
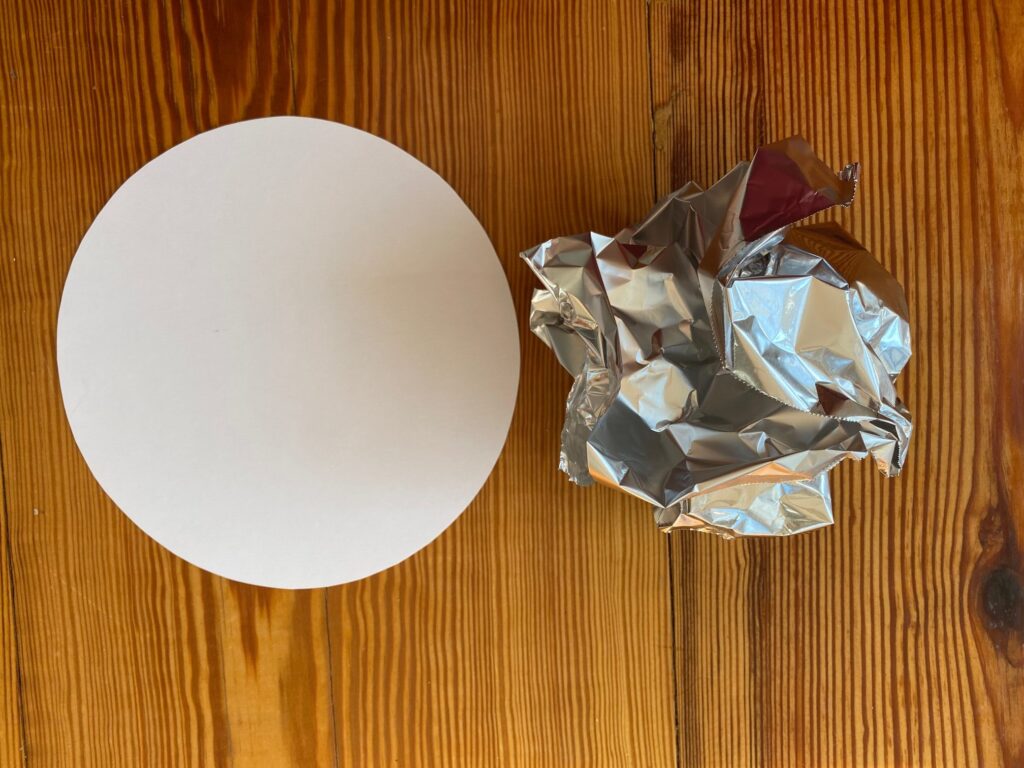
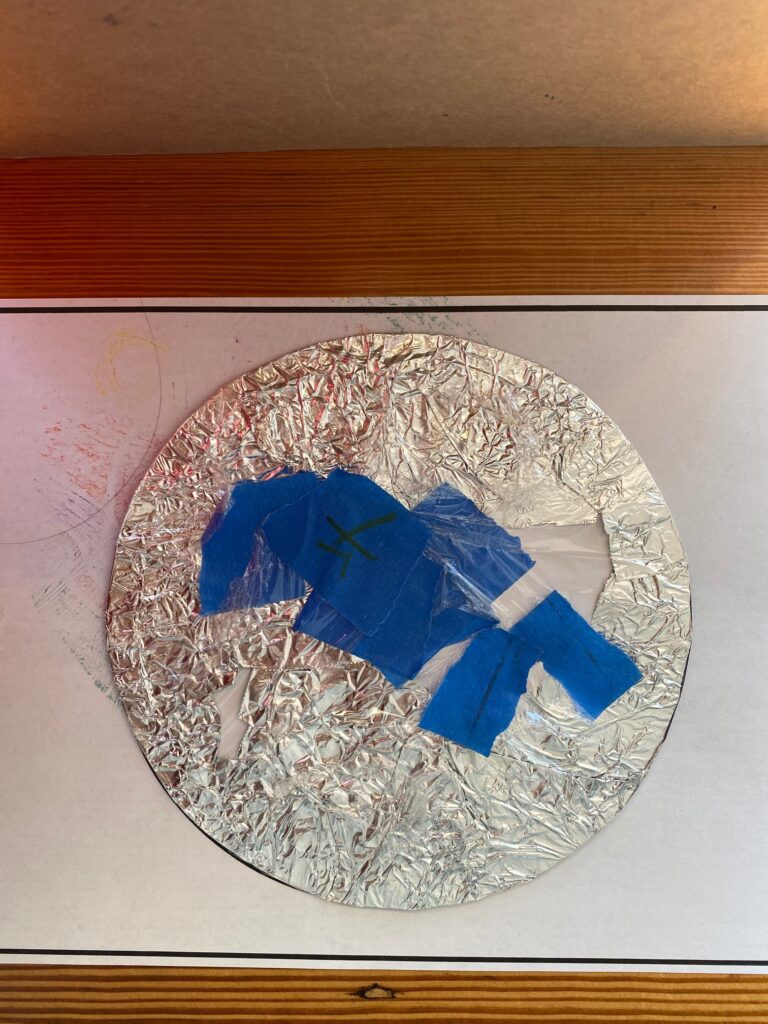
As students are cutting their circles, go around the room and give each student a piece of aluminum foil. The foil needs to be just slightly larger than the diameter of the cardstock circle.

Next, students will need to carefully crumple the aluminum foil. Make sure you tell students not to crumple it into a tight ball. If they do this, they will not be able to get it back into a flat piece without tearing it.
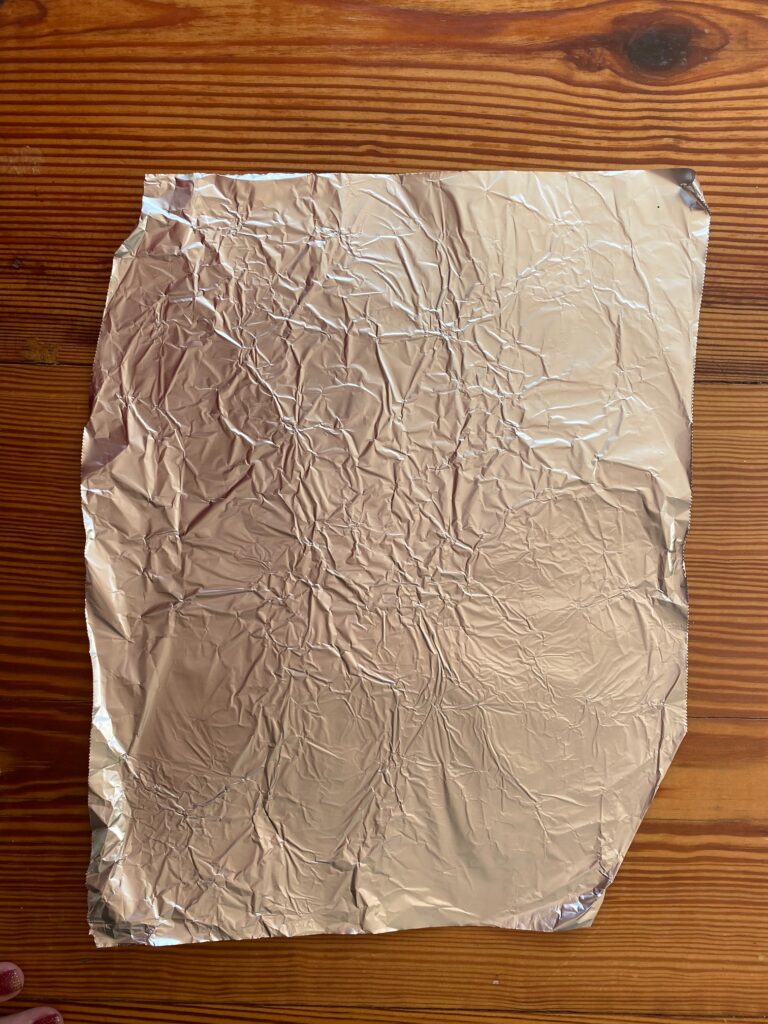
Gently smooth out the foil so that it lays flat. Make sure that the shiny side is facing down and the dull side it facing up toward you. After the foil has been smoothed back out, wrap the foil around the edges of the plain cardstock. Be sure to crease the foil at the edges to give it a crisp look! It doesn’t matter that the foil doesn’t completely cover the back of the cardstock.

Coloring the Stained Class Ornament:
Set aside the foil wrapped circle for later. Now it is time to color the stained glass ornament design! We always tell students not to use black for any of the design.
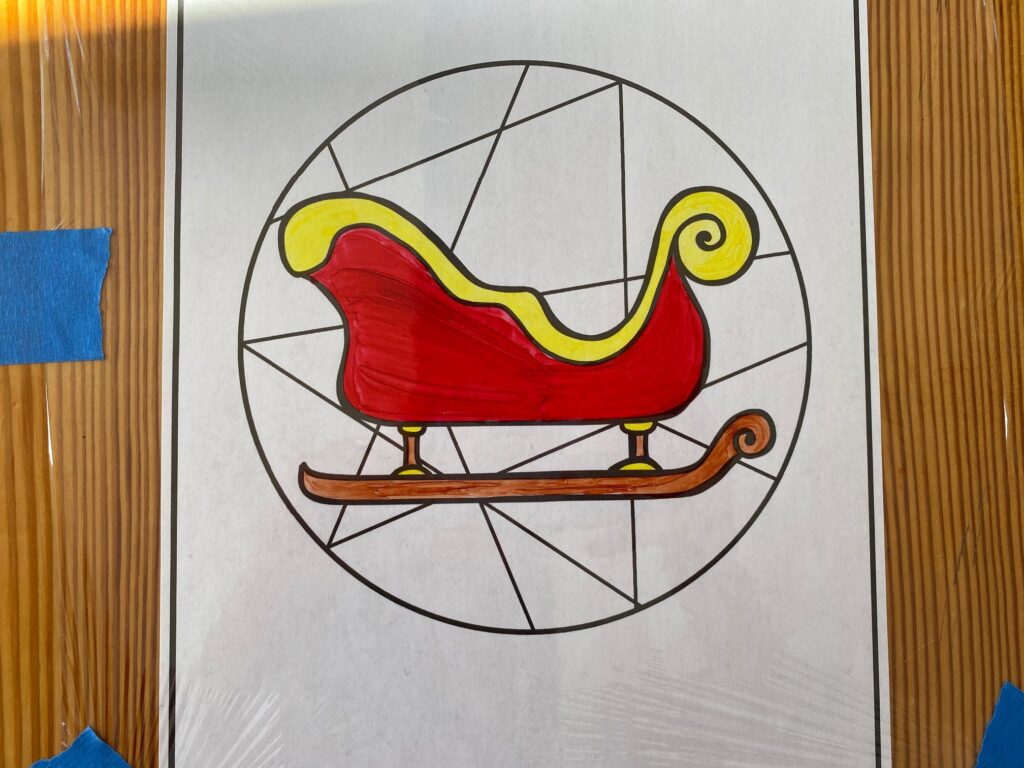
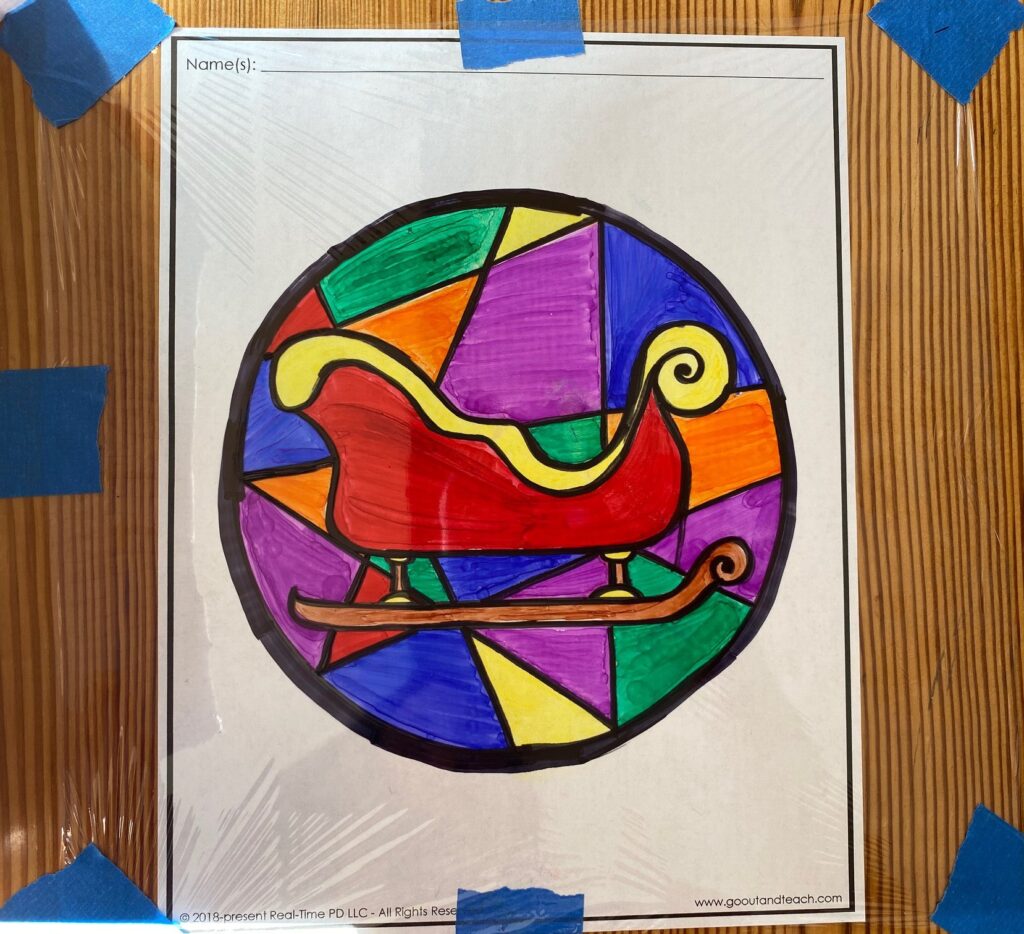
First have students just color the design. Then have them color in the stained glass background. This will allow them to see which colors will look best up against the image in the center of the ornament.
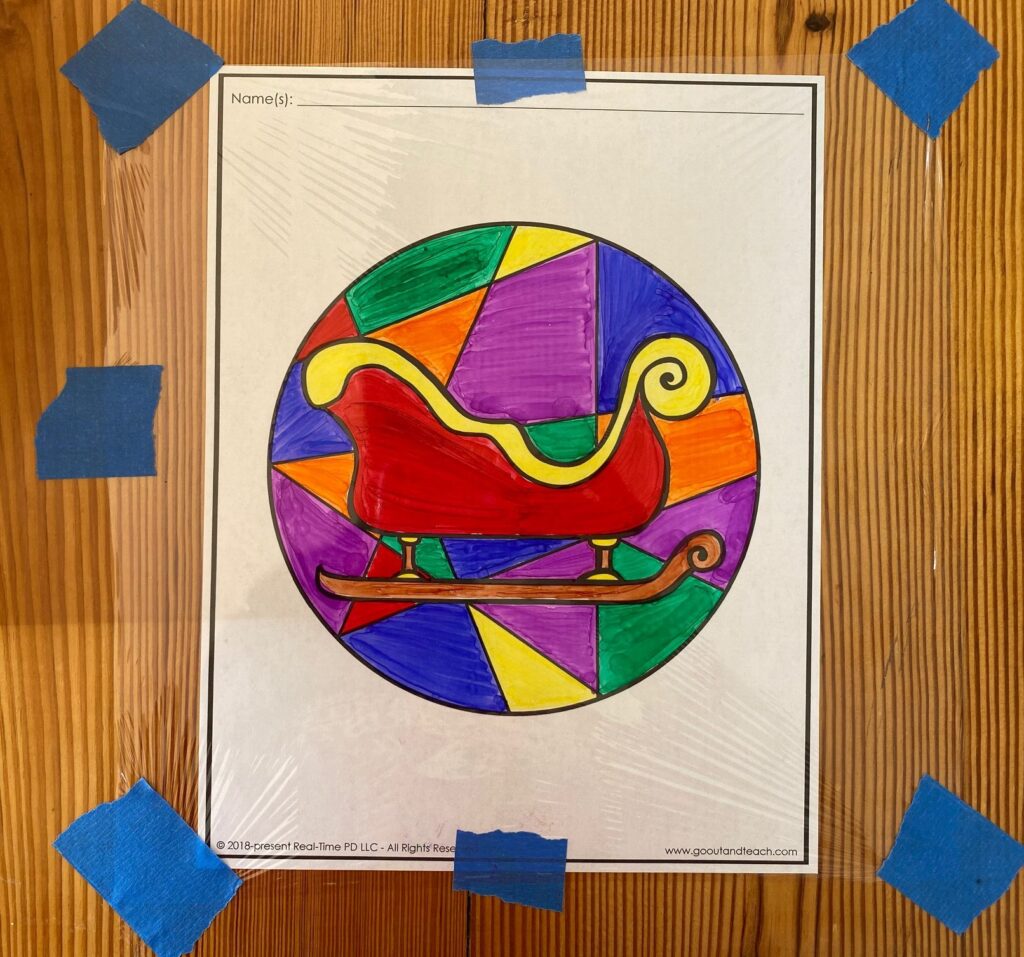
Finally, have students trace the black lines of the stained glass ornament design with a black marker.
Finishing the Stained Glass Ornament:
Once the stained glass ornament is completely colored, carefully untape the plastic wrap from the desk. This part can be a little tricky. Center the plastic wrap onto the aluminum foil cardstock. Then, flip it over and use the tape to secure it. Pull it taut and smooth.
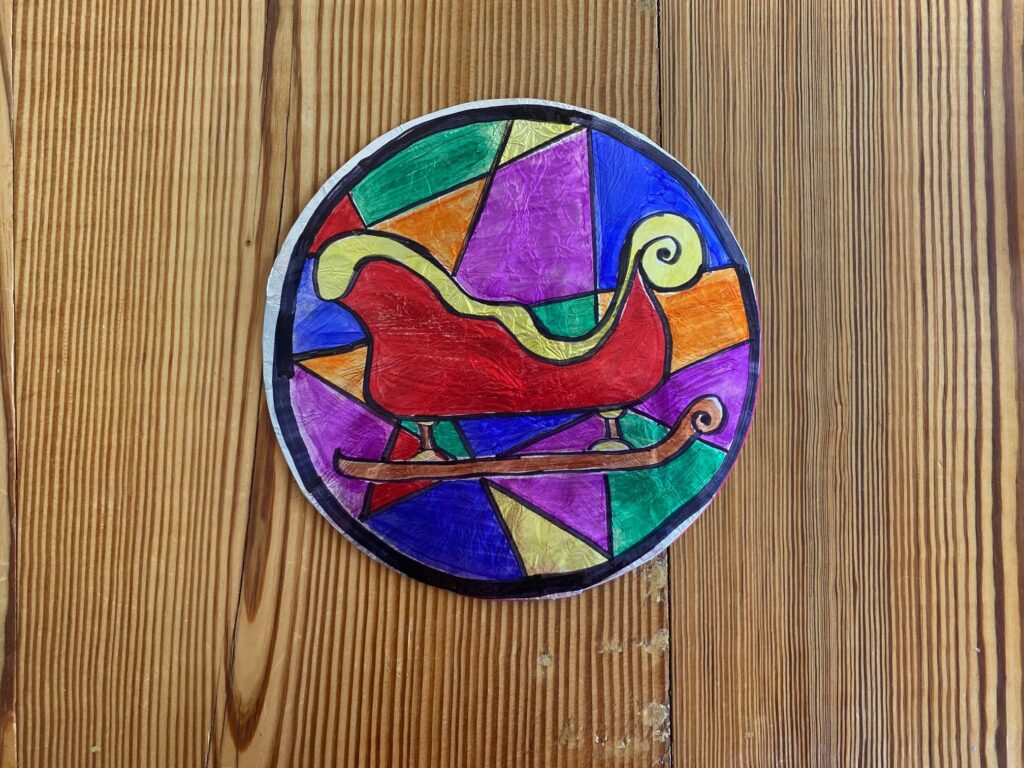
Finally, use the hole punch to make a hole at the top of the ornament. Then thread a piece of ribbon, yarn, or string through the top.